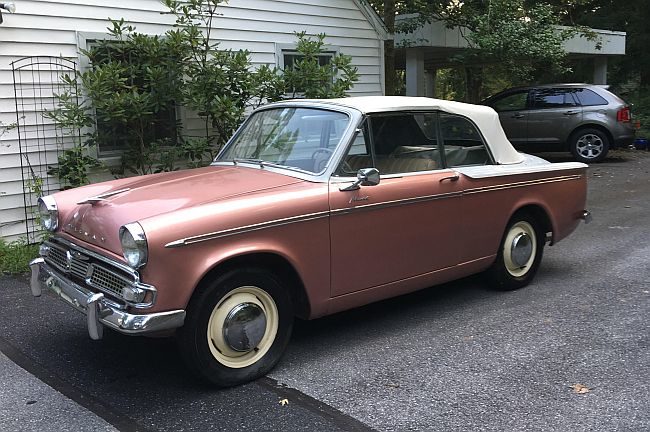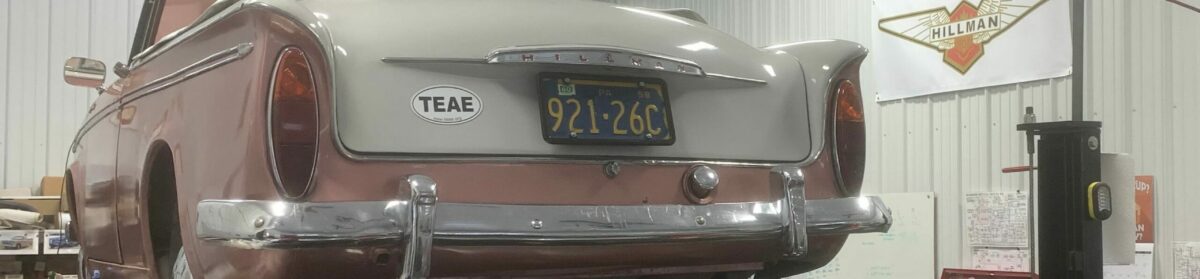
Joe thought the rear springs didn’t seem right. And when I looked, the driver’s side seemed to ride about 4″ lower than the passenger.
I can’t have that. I know what I think about the driver of a car when it rides like that! That must be fixed.
Turns out the biggest leaf spring company in the US is in Harrisburg, PA..
StanleySprings!*
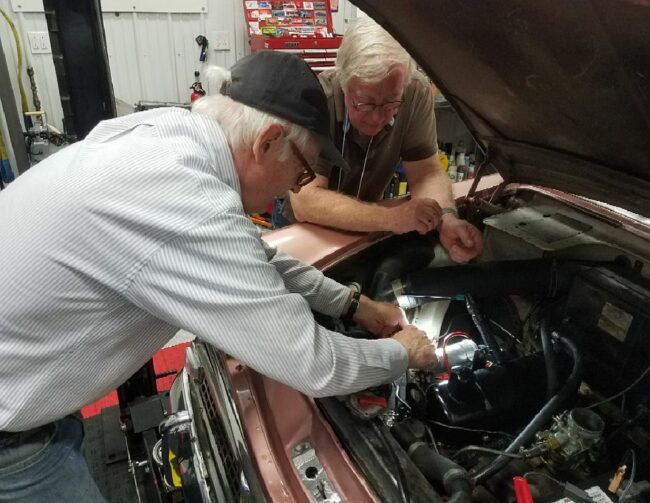
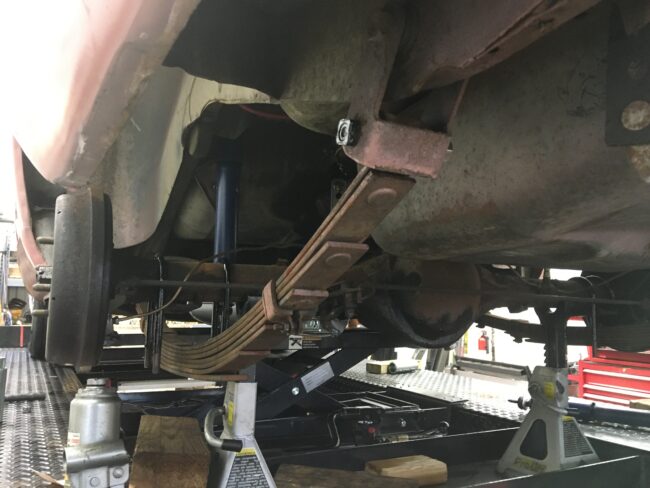
My new best friend Matt took the old springs and re set them.
However, he also said they were within tolerance of the original configuration.
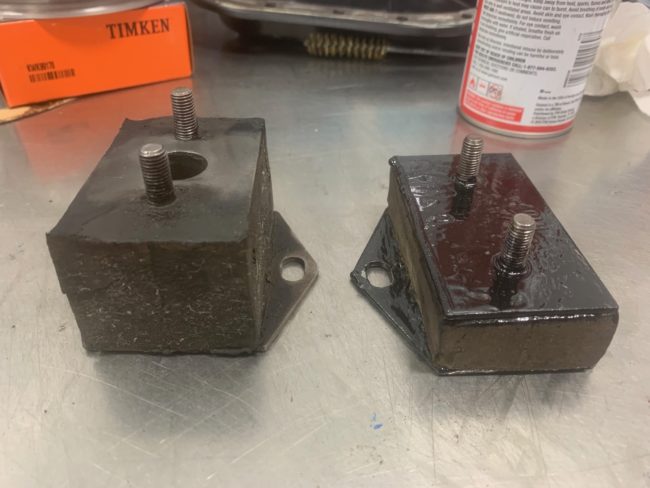
Nevertheless, with new bushings, buttons, and the rubber things (#12 and #14 in the drawing) from Speedy Spares, they are back in the car.

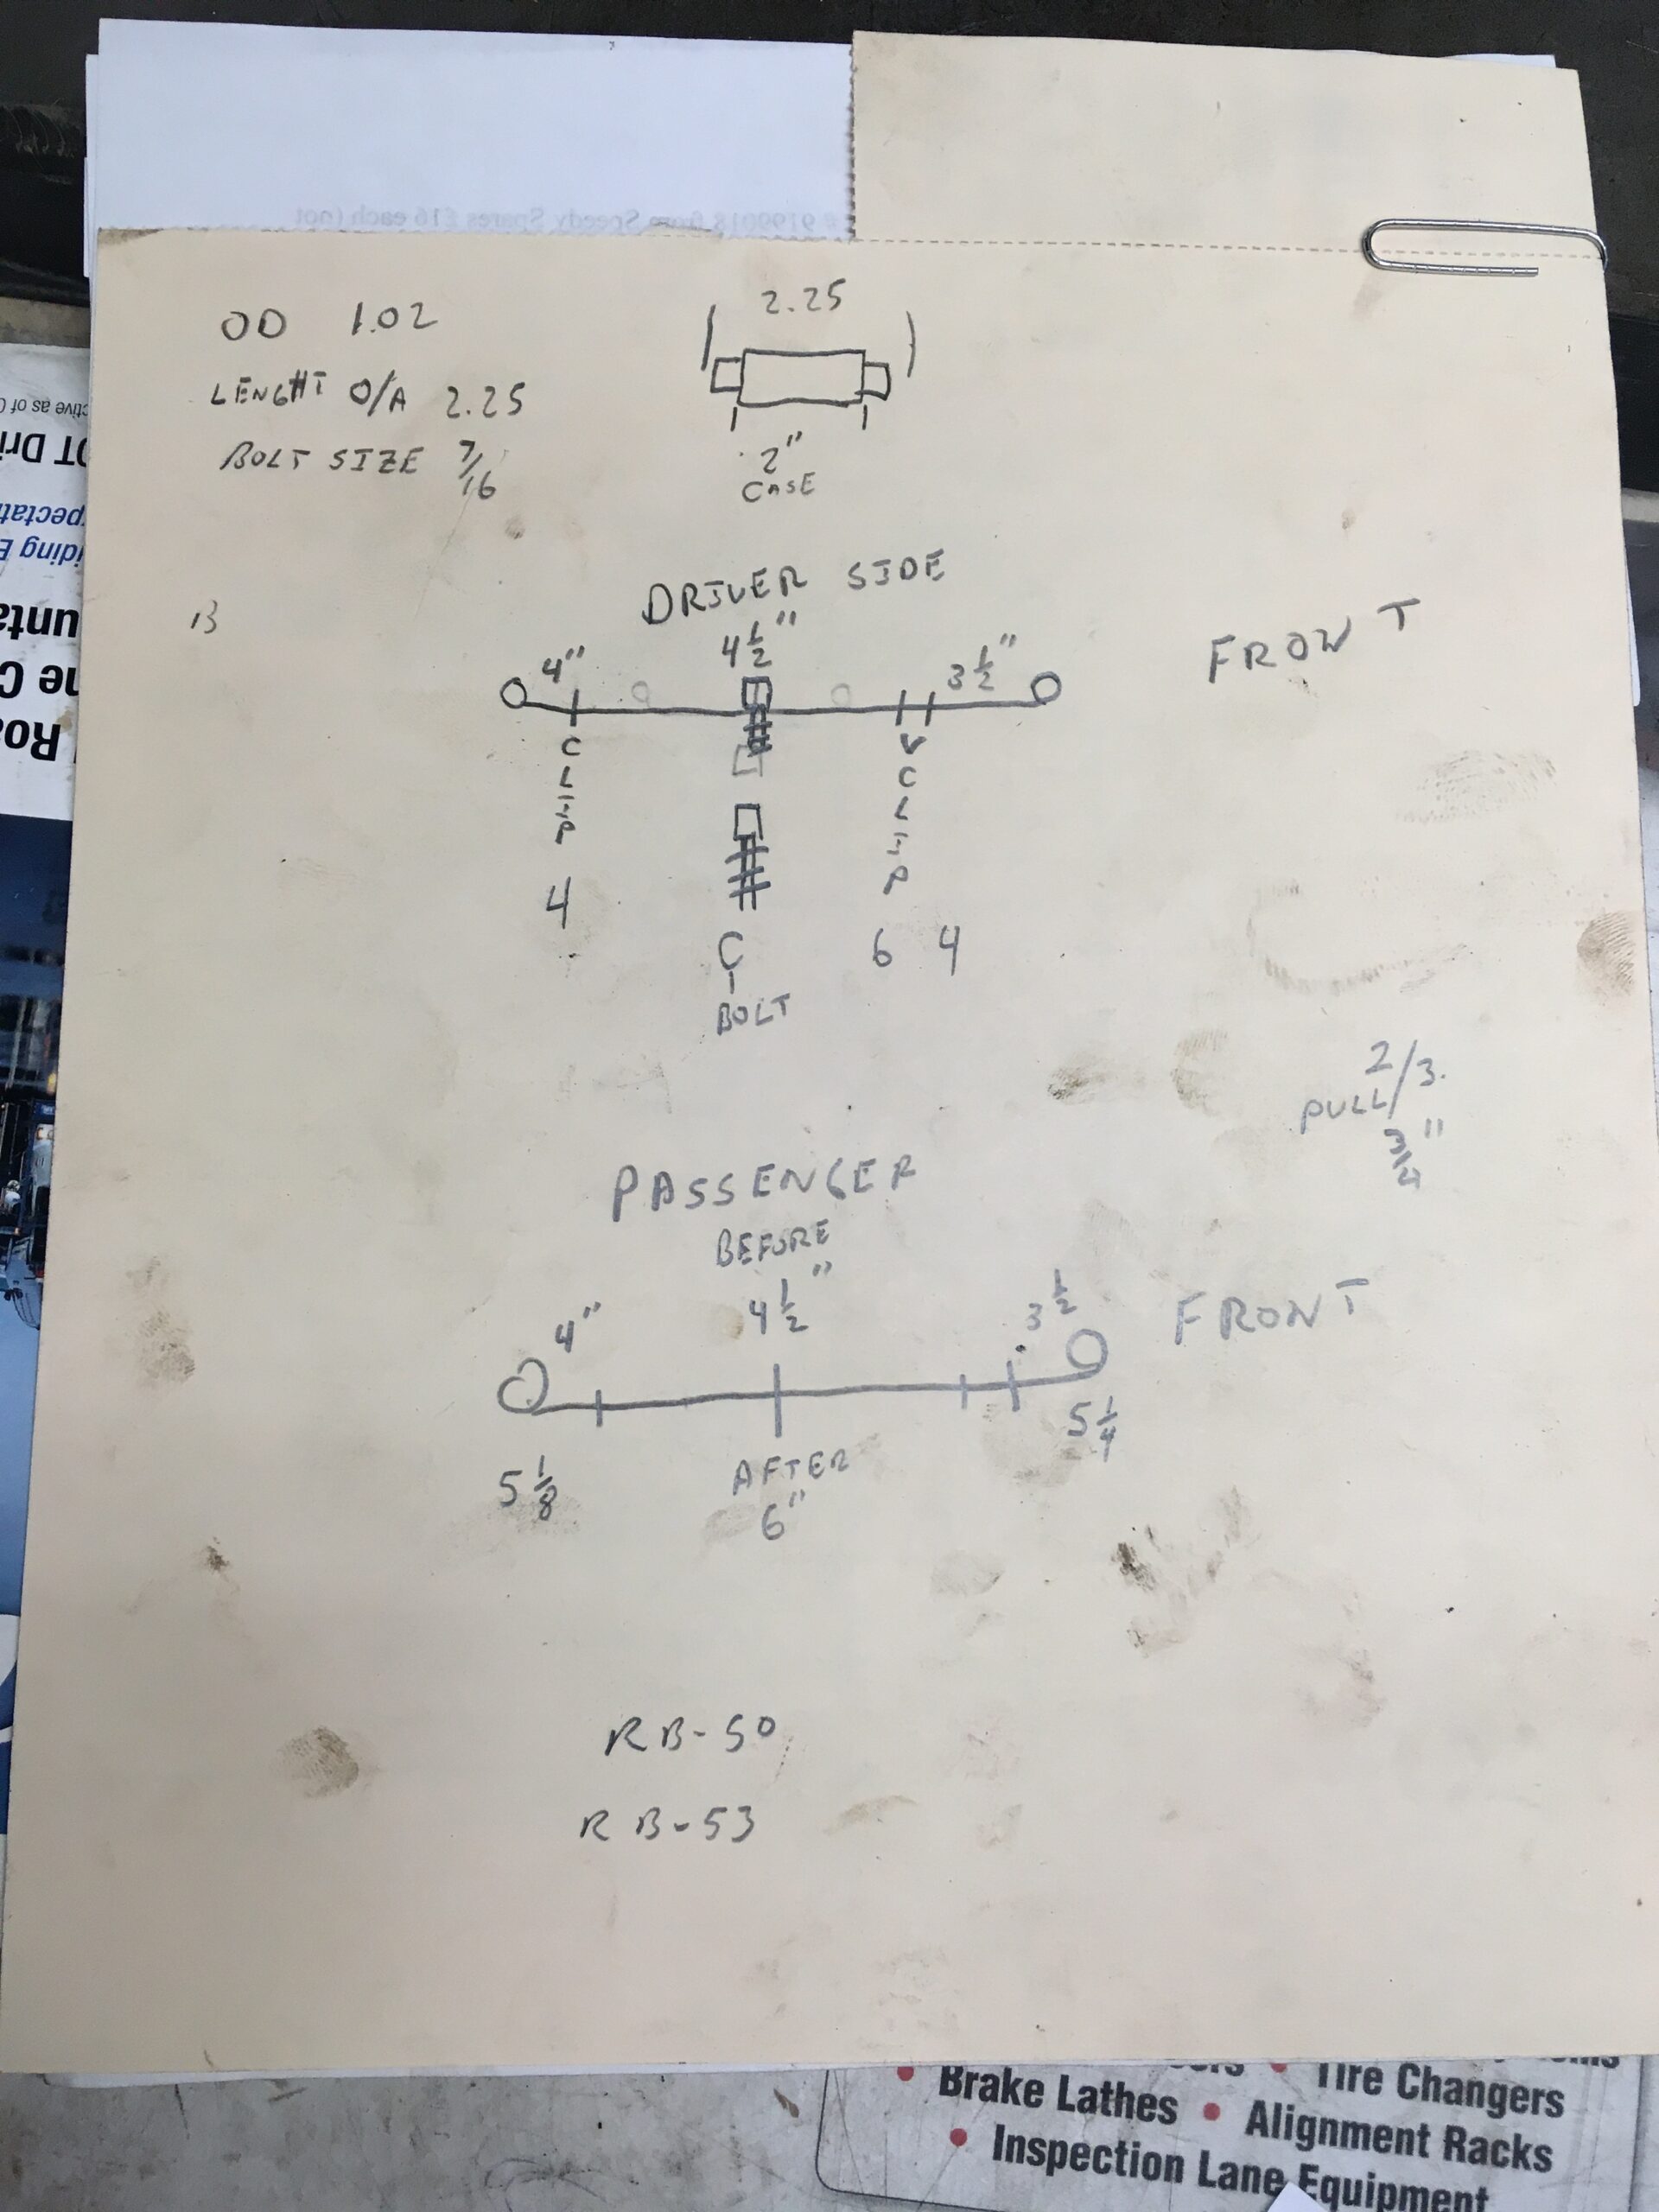
2 each #12, and # 14, upper and lower clamp plate bushes. I couldn’t find these. Part numbers are P.79686 (top) and P.79688.
12 each #10, polythene thrust buttons. Couldn’t find these either, but they may be something the spring shop has. Part number is P.84770
We started installation with the passenger side. MAN was that hard. Ultimately it required another jack and levers.
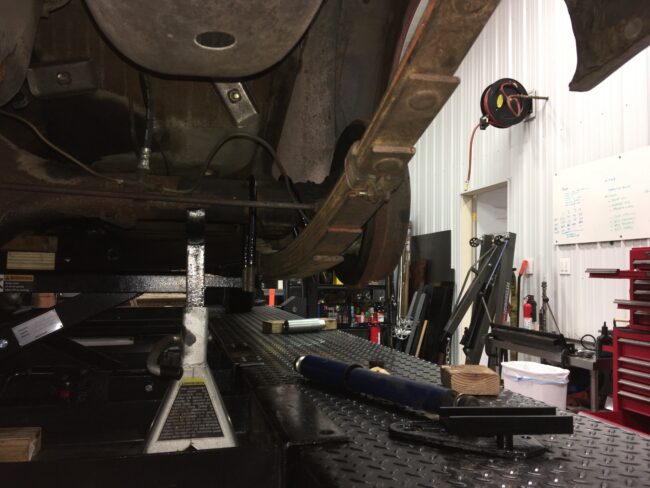
However, the driver’s side went in like a breeze. Turns out the rear shackle (#28 on the drawing) on the passenger side was pretty much seized. But even with penetrating oil and time to set, it doesn’t seem to be much better.
We probably should have replaced the upper bushings on the shackles too, but after putting it together that can wait until the next time.
Unfortunately, that didn’t really fix the driver’s side sag.
After settling for a week or so, the rear of the car is close to level, but the front is still off. Fronts shocks maybe?
Next? Rear Shocks
Turns out they aren’t so hard to find: Monroe part #31069
They went in pretty easily after putting some weight on the springs.
One thing to note though is that the smaller shock bushings go on the top. The manual says they’re the same, but the ones that came with the shocks are not.
And now after settling down a bit, the back end is pretty close to level.
*This is the RIGHT Stanley Springs info:
Dayton Parts, LLC
Harrisburg, Pennsylvania
1300 Cameron Street
Harrisburg, Pa 17103
(800) 233-0899
customerservice@daytonparts.com
www.daytonparts.com
Manufacturing Facility