Our 1960 Hillman Minx IIIA has been treated to an engine and transmission upgrade, now sporting a 1725 engine, all synchromesh transmission, a D-type overdrive, and, thanks to a front crossmember swap, front disk brakes.
Unfortunately, the transmission and overdrive were found to be leaking prodigious amounts of oil. Leaks at the bell housing were traced to the housing mounting bolt which penetrates the gearbox with coarse threads. The threads were thoroughly cleaned, and Permatex thread sealer used to address this.
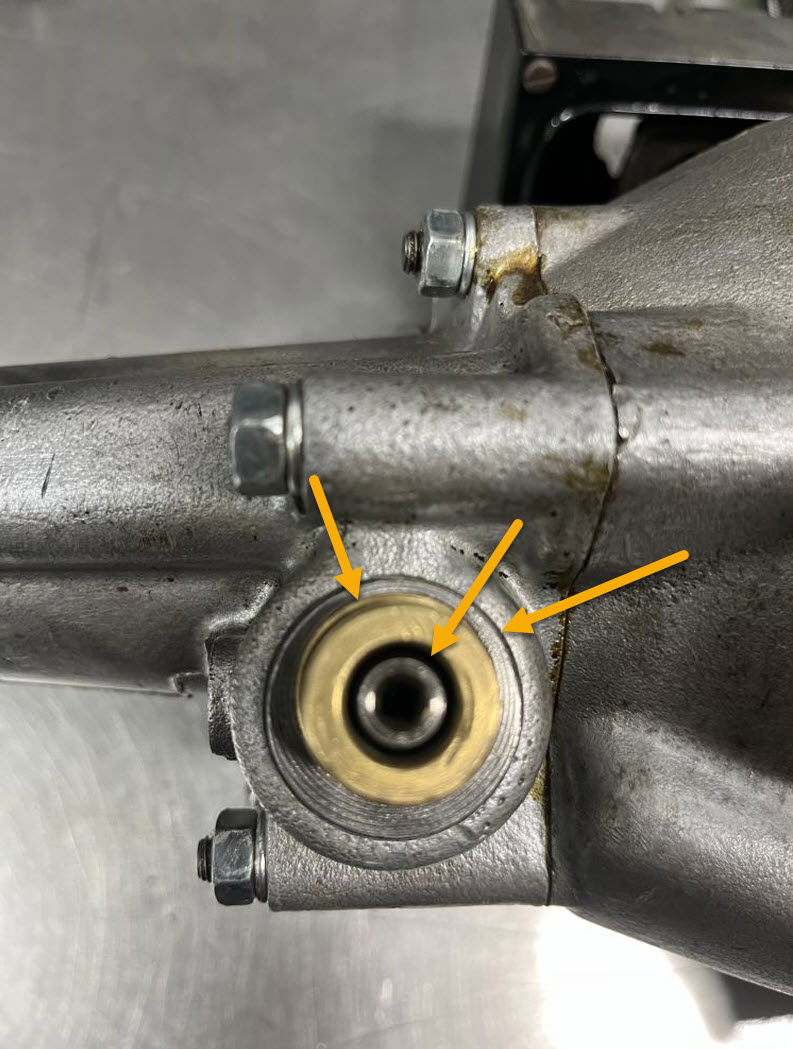
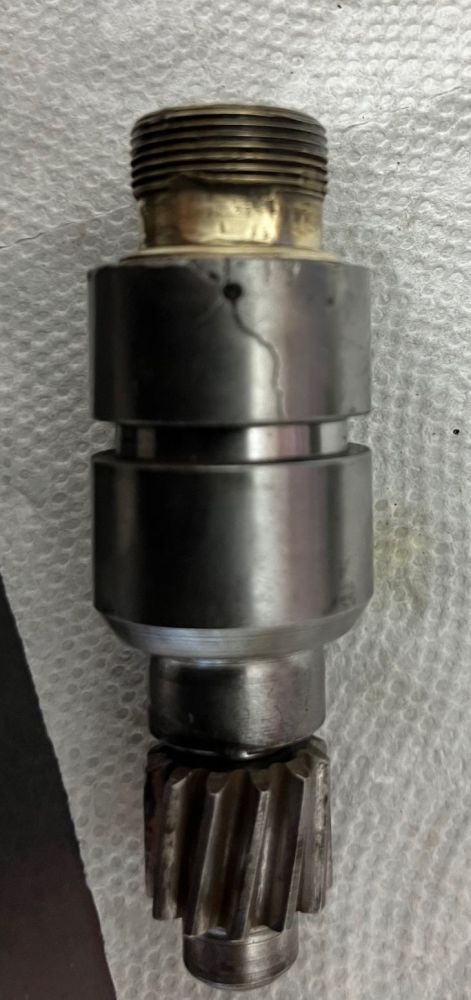
The biggest leak however was at the speedometer gear on the overdrive tail housing. [Picture 1] This was found to be leaking through three paths: around the outside of the gear housing past the O-ring, between the housing and the brass insert, and between the brass insert and spindle.
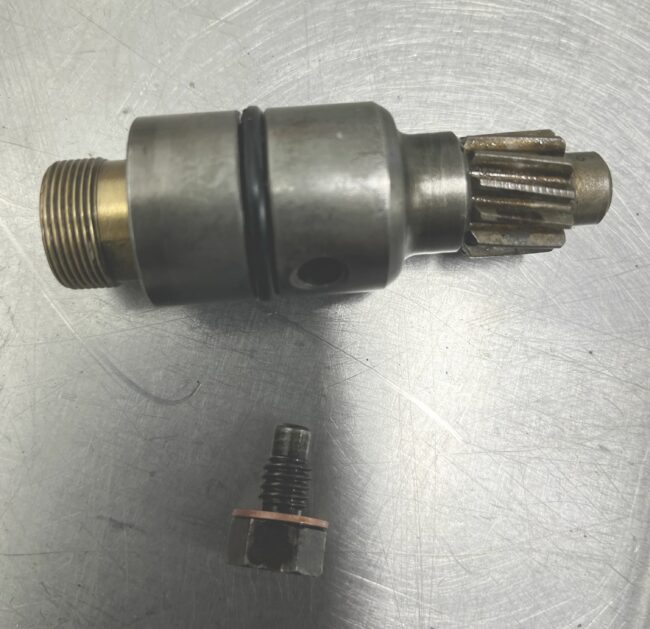
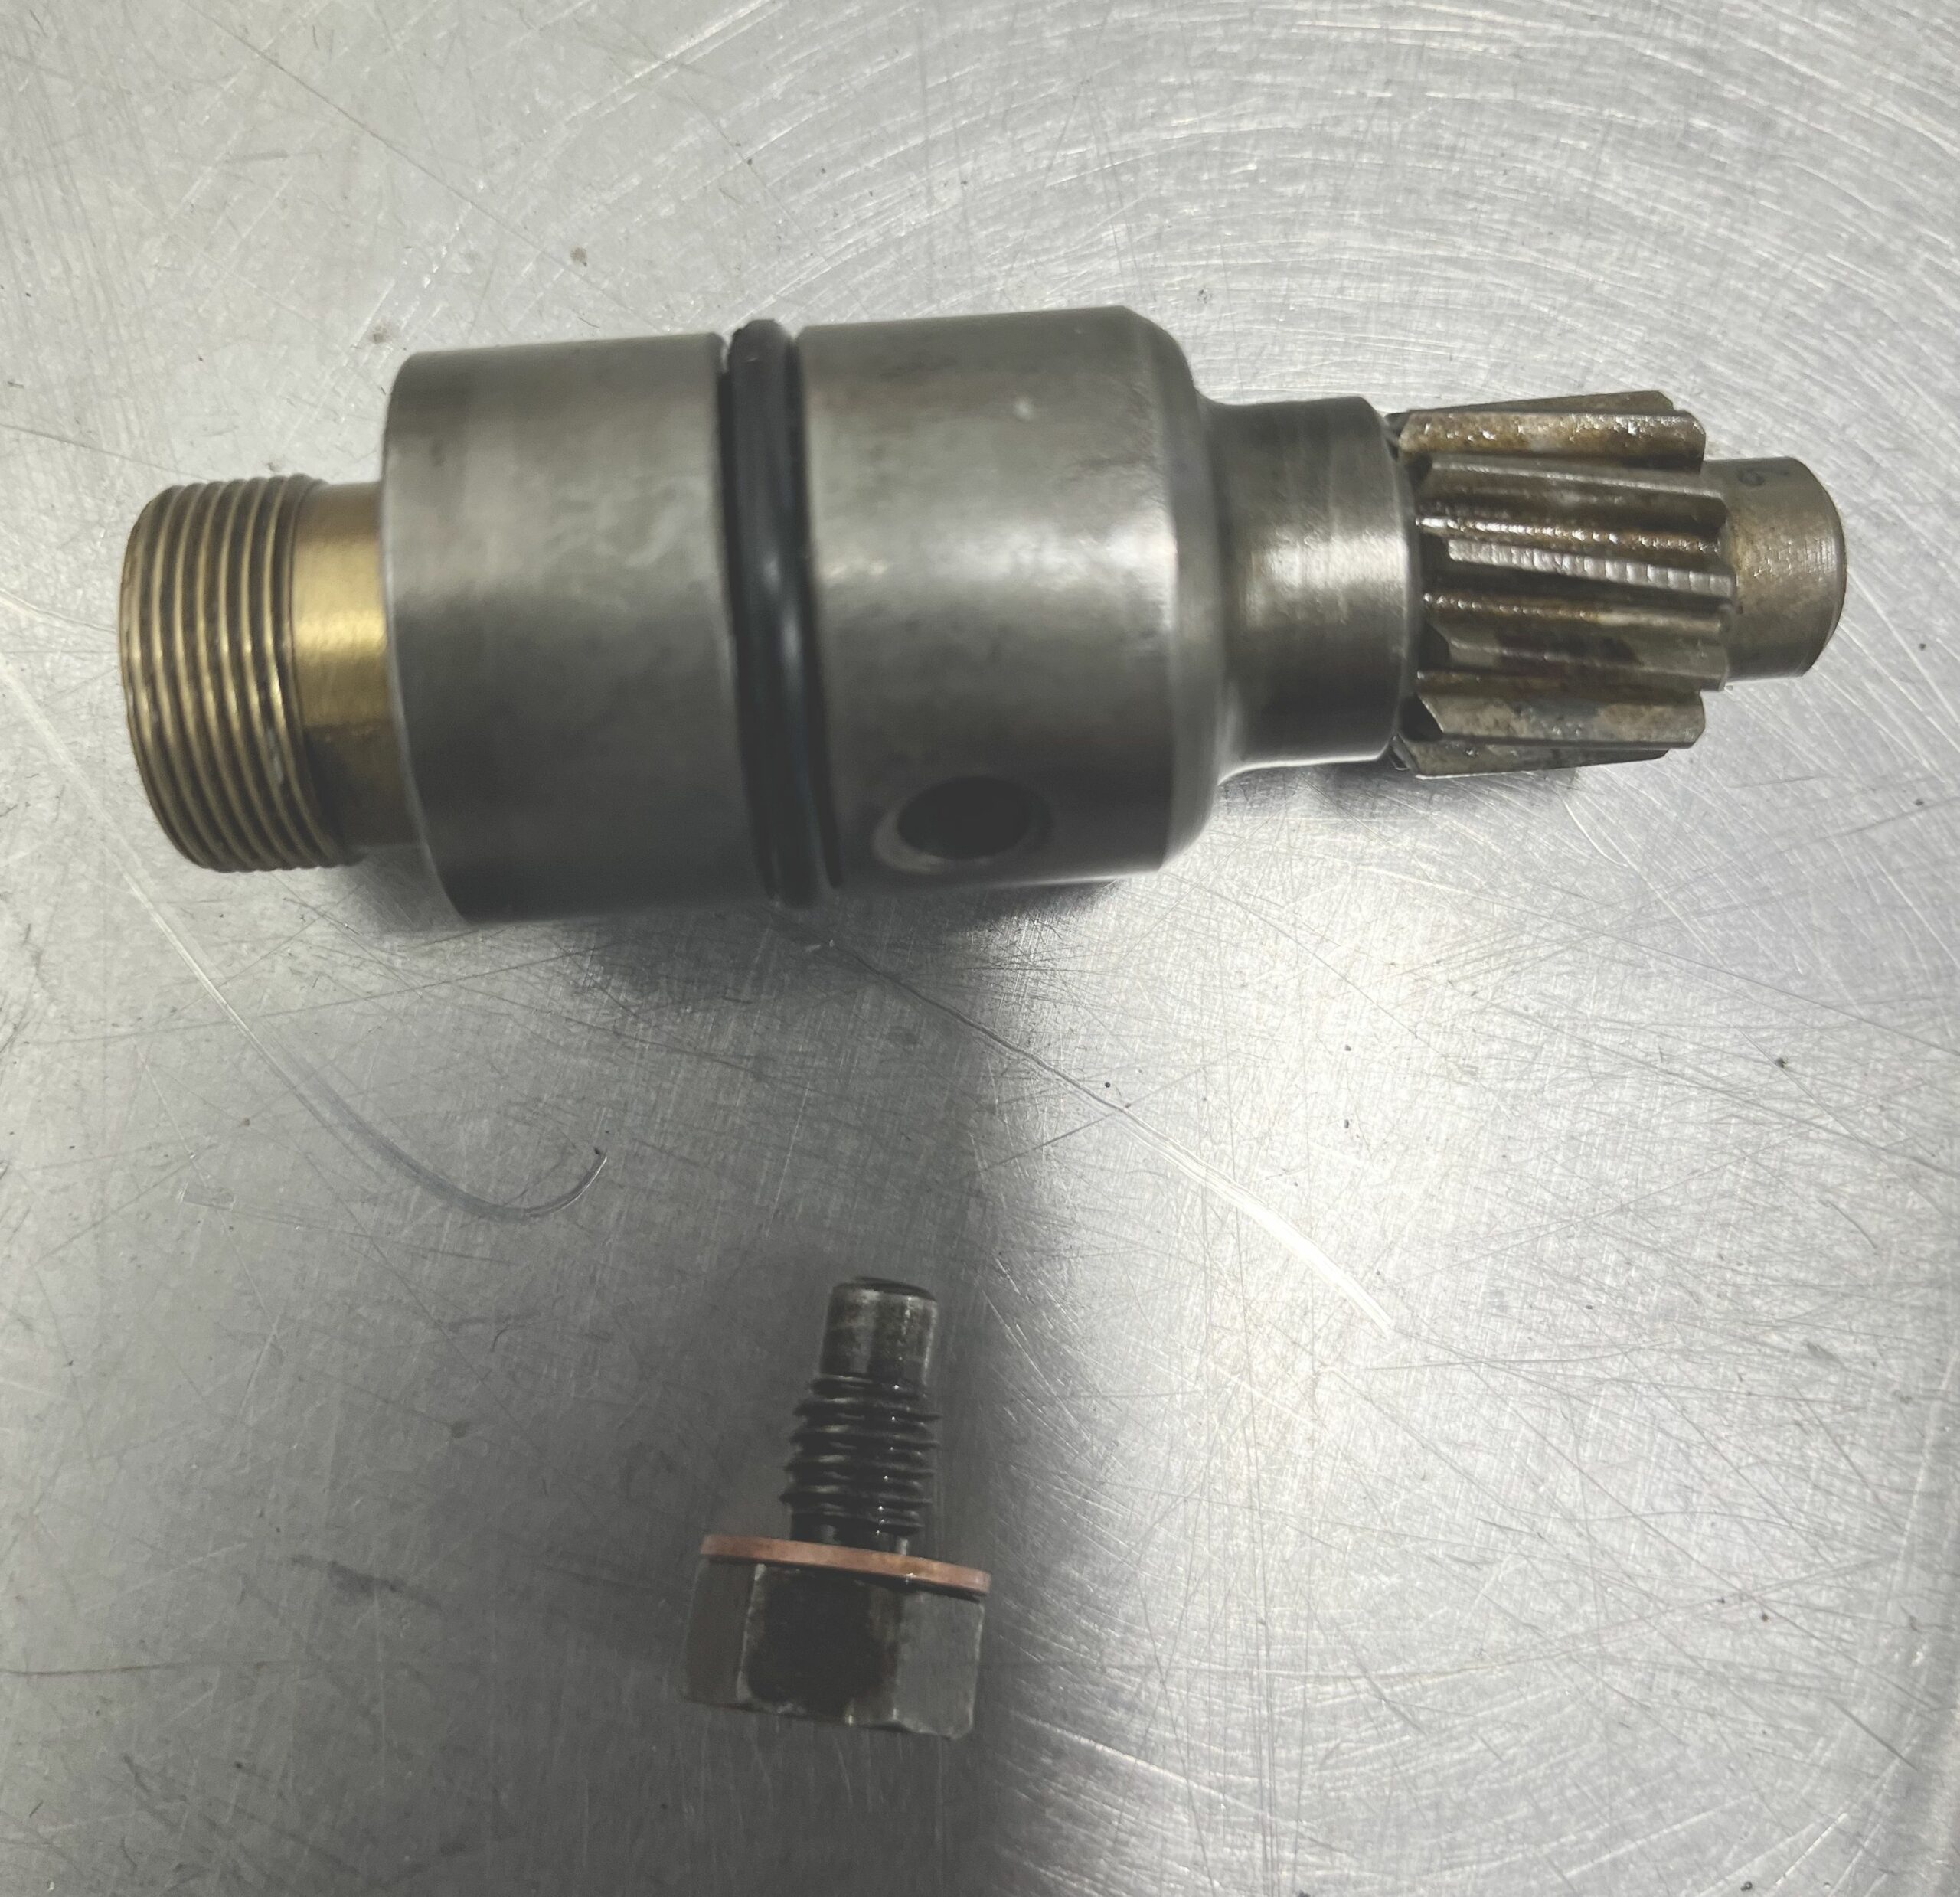
We noticed that there was play between the housing and the boss on the overdrive tail housing, and between the brass insert and outer housing. Neither of these is supposed to move. Previous efforts to fix the problem with a new O-ring failed to make any difference, and I had not yet found out how to get to the inner seal. Removing the speedometer gear assembly is accomplished by removing the special bolt in the side of the boss. [Picture 2] The assembly can then be pulled out.
After some discussion we suspected that the tail housing boss had somehow been bored out or otherwise damaged, leading to the leak at that point. After discovering that earlier overdrives used an external oil feed to the rear of the overdrive, and newer ones had an internal port for this purpose, I sourced a used late type tail housing from England.
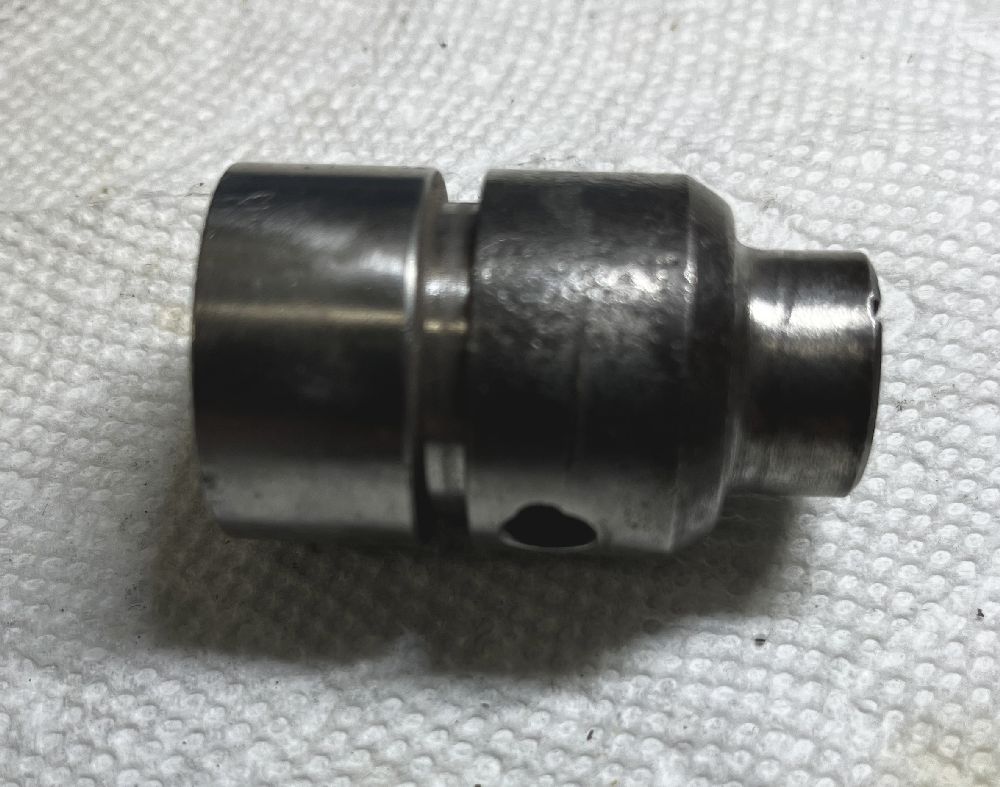
Meanwhile, Eric Gibeaut came through with another speedometer gear to try. After cleaning this up I found a crack in the outer housing. [Picture 3] It originally didn’t appear to go all the way through so I thought it may still be serviceable, but it almost certainly would need new seals.
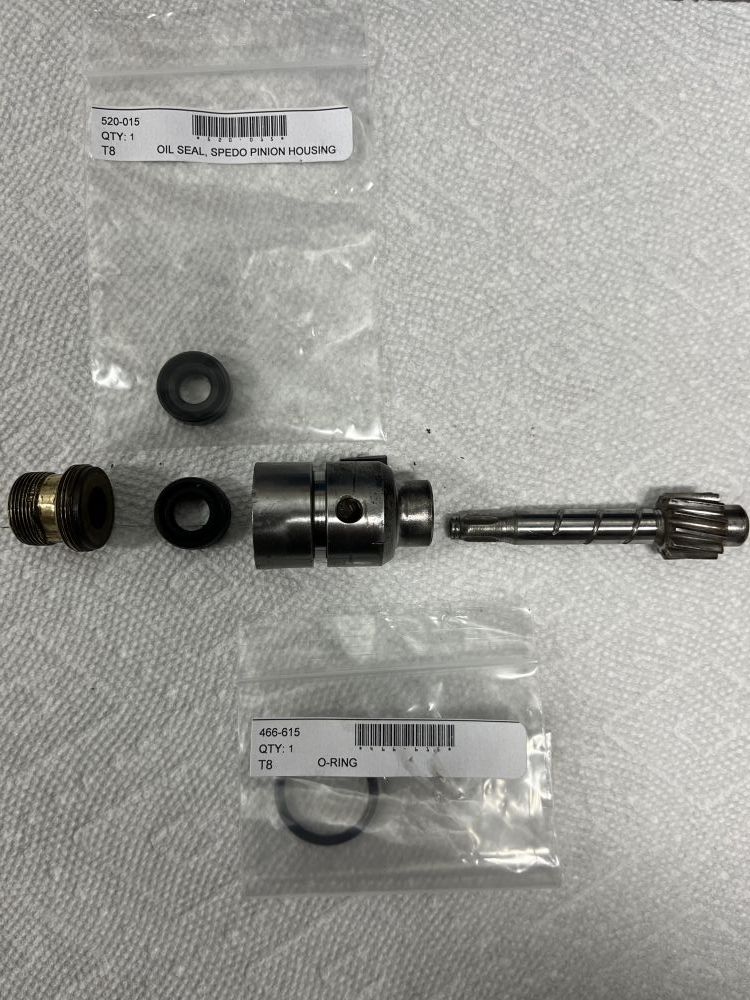
The external O-ring is available, but there is also an inner oil seal for the rotating spindle. This is not listed as a spare part by the usual Sunbeam parts dealers and the parts manual shows the entire assembly as a single part number. It appears it was never intended that the inner seal would have to be replaced. Rootes probably never expected these cars to still be on the road after 50 years. I eventually found a replacement for the inner seal: it is the same part used in the MGB D-type overdrive, and Moss Motors lists it as part no. 520-015.
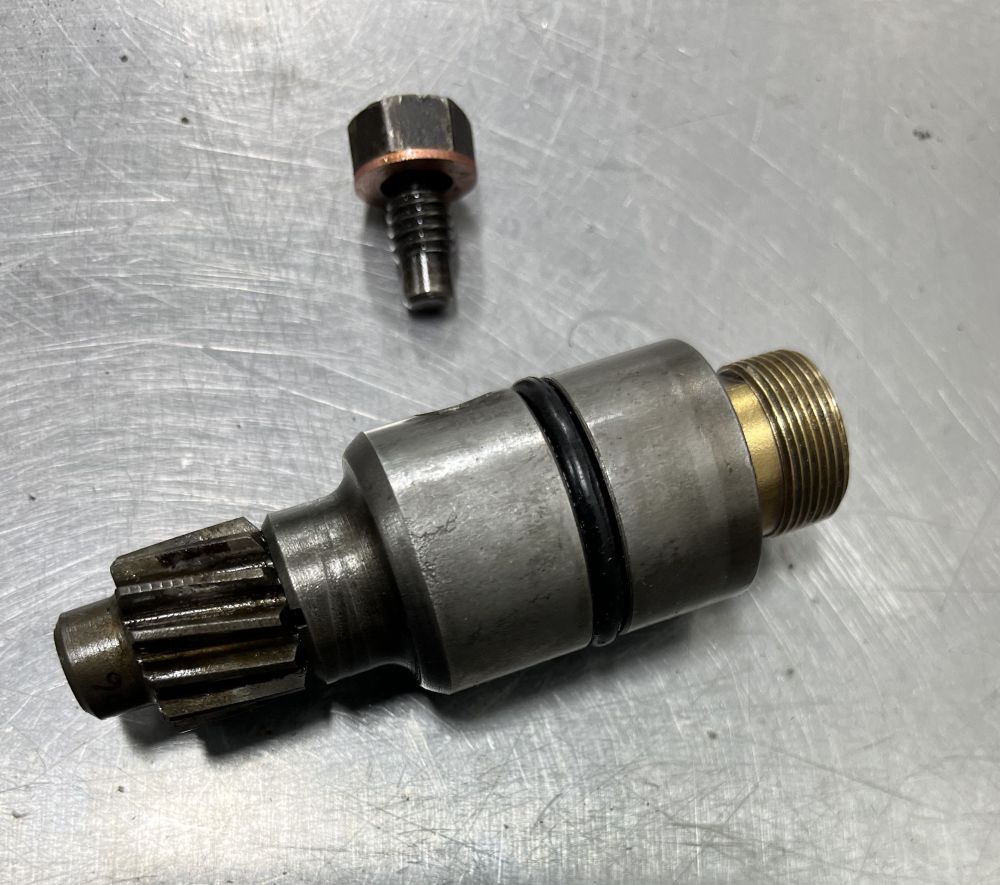
The assembled part [Picture 5] and the “exploded” parts [Picture 6] are shown below.
Picture 5 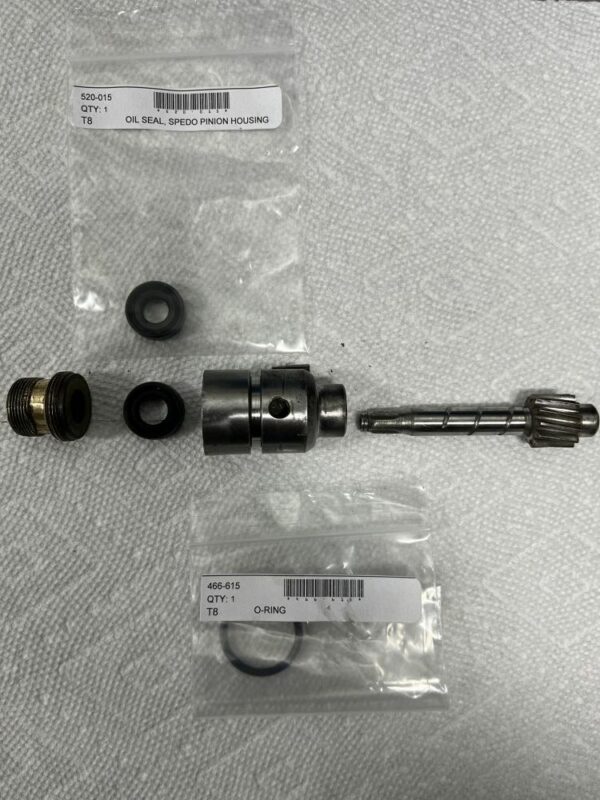
Picture 6
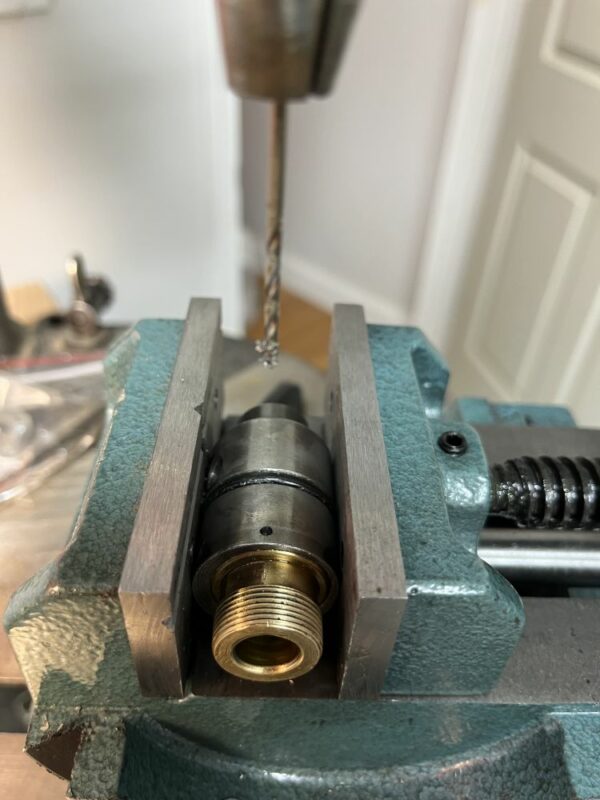
Removing the brass insert requires drilling out a pin in the housing and unthreading the insert. [Picture 4] The seal sits below this part. The rubber seals I removed from both assemblies were hardened so much that they had no flexibility at all.
With the pin removed, inserting the new seal and reassembling the speedo gear was simple. I marked the point on the circumference of the brass insert where the pin sits and tightened it until it aligned with the hole in the housing.
I then used a mild steel wire as close to the size of the hole in the housing as I could to replace the pin and drove it flat against the outer shell.
I also found some damage to the threads where the speedo cable attaches. I found that these are an unusual thread: BSB ¾-26 (that’s British Standard Brass). Oh boy – a chance to buy another tool! Unfortunately, it is coming from India, so I won’t know how good it is for some time.
Putting it back together
Dry fitting the two speedo gears into each of the two tail housings revealed that the part from Eric was tighter in the housing, even before the O-ring came into play. I mic-ed the two and they appear to be identical diameters. I suspect the pitting in one side of that part contributed to the tightness. [Picture 7]
So now while I’m trying to decide which of the two speedo assemblies to use, I found that both Moss Motors and Rimmer Bros sell the housing with the internal seal and brass connection part, but without the geared spindle. This approach would eliminate the need to drill the pin out and replace it, but it is bit pricey. (Moss p/n 466-610; Rimmer p/n 17H8012). Too many options!
Closer inspection of the crack in the housing Eric sent showed that the crack did indeed go all of the way through, so that made the decision a bit easier.
Next step is to choose which speedo gear to use then re-install the transmission and verify that the leaks have been fixed (or at least reduced to a tolerable level.)
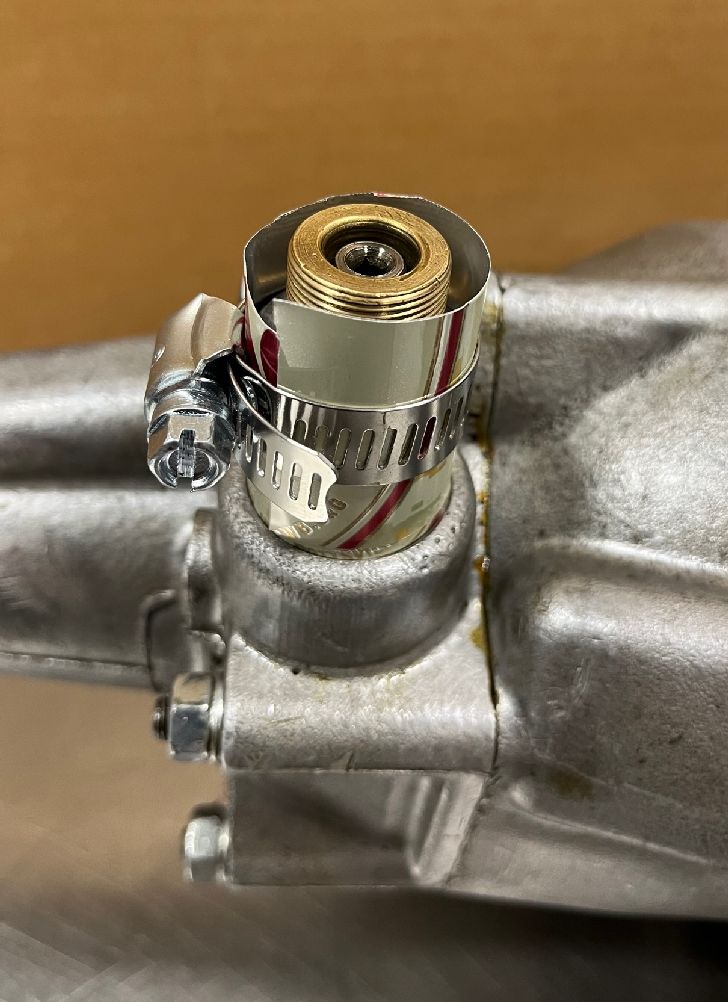
The original speedo gear assembly went back into the original tail shaft and so far there is no leak. Time will tell. A tip from Tiger Tom: use a thin piece of metal and a hose clamp to compress the O-ring while you slide the assembly into the tail housing. [Pictures 8 and 9]
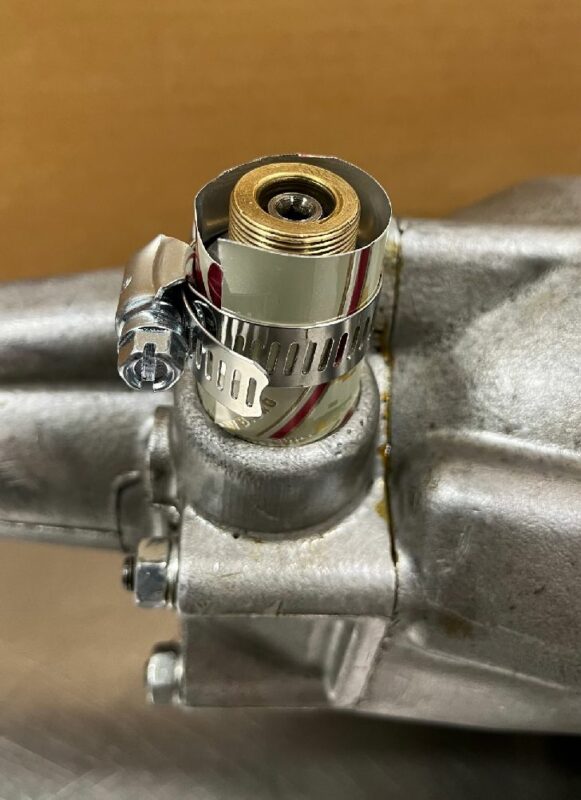
Picture 8 
Picture 9